Nova Cork Floors Installation Instructions

Instructions

BEFORE YOU BEGIN

If there are any questions about the instructions below or additional information required please call Nova Distinctive Floors at 866-576-2458. Nova Distinctive Floors is not responsible for any installation applications since Nova has no control over the installer’s proper application. Should an individual plank be doubtful as to appearance or dimension the installer should not use this piece. Cork floating floors expand and contract in response to fluctuations in temperature and humidity. Maintain a moderate temperature and relative humidity around 50-60%; use de-humidifier or humidifier where necessary.
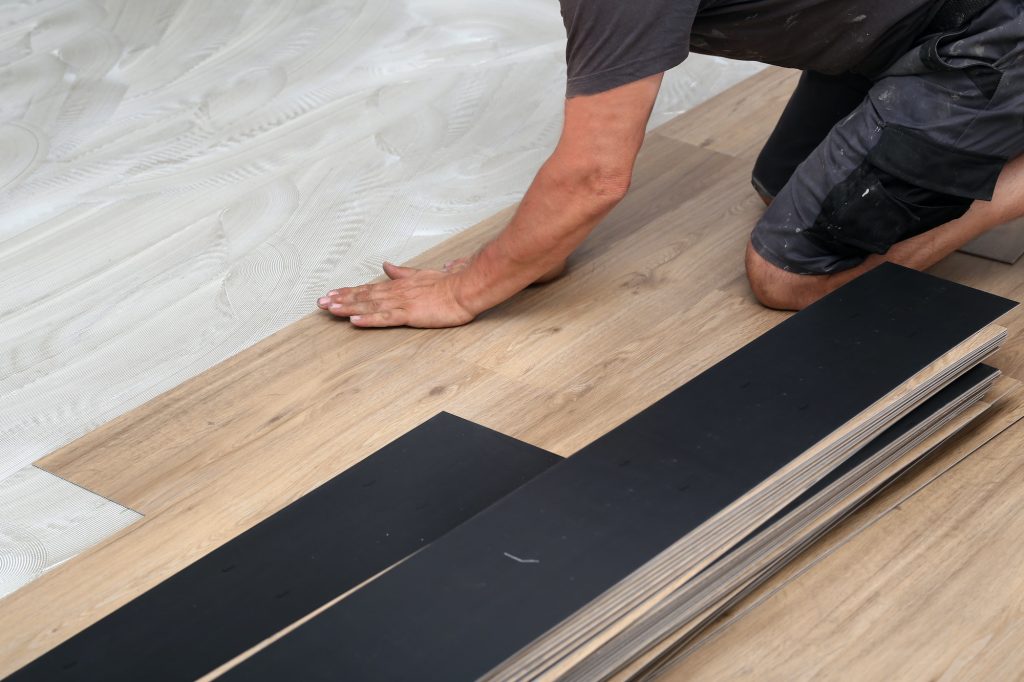
Worker installing new vinyl tile floor

MATERIALS REQUIRED

PE sheeting as a vapor seal, tape and adhesive.

TOOLS REQUIRED

Folding rule (tape measure), pencil, circular saw, hammer, straight edge, tapping block, spacing wedges.

THINGS TO REMEMBER

Keep in mind that cork is a softer material than a hardwood floor so make sure not to over tap the planks, which may cause peaking around the seams. Color variations are expected in cork floors since it is a natural product. Shuffling the planks prior installation is required. Cork contains organic pigments. Just like a wood floor, cork will fade and should never be exposed directly to sunlight. Where possible, use drapes or other systems to protect your floor from excessive light. Additionally, UV inhibited clear coat protectors can be applied over your finished floor.

INSTALLATION ON CONCRETE SUBFLOOR

Nova Cork Floating Floors can be installed over concrete that is above grade, on grade or below grade. Concrete subfloors are required to be sound, smooth and level. Tolerance of level must be within 1/8″ in 10′. Check concrete slab for moisture with Calcium Chloride moisture test. Moisture content cannot be more than 3 pounds per 1,000 sq. ft. per 24 hours. Fill any low spots with leveler and scrape any high spots. Before installing Nova Cork Floating Floor, cover concrete floor with 6 mil polyethylene sheets, run up the wall 3”, overlap seams 8″, and tape the sheets together. Install plank over this moisture barrier.
INSTALLATION ON UNDERLAYMENT-GRADE PLYWOOD AND MAN-MADE BOARD SUBFLOOR

Subfloor must be clean and level. Fill any low spots with appropriate filler and sand any high spots. Tolerance of level must be within 1/8″ in 10′. Subfloor must not exceed 14% moisture content (electrical resistance method). Check basements and under floor crawl spaces to be sure they are dry and well ventilated to avoid damage to planks caused by moisture. For buildings with crawl spaces, Nova Cork recommends the use of 6mil polyethylene sheeting as ground cover over the earth.

IN-FLOOR RADIANT HEATING SYSTEM

With radiant heat, heat source is directly beneath the flooring, so flooring may gain moisture or dry out faster than in a home with conventional heating system. For this installation, once slab has cured, turn heat on, regardless of season, and leave it on for at least 5-6 days before installation. Maximum surface temperature should never be more than 85 degrees Fahrenheit (30 degrees Celsius).

NOVA CORK FLOATING FLOOR MUST BE ACCLIMATED

Store cork flooring in the box flat by cross-stacking in unopened packages in the center of the job site for a minimum of 48 hours. During storage and installation, maintain temperature and relative humidity to level consistent to the conditions that will prevail when building is occupied. Heating or air conditioning should be used for an appropriate length of time prior and during installation. With improper acclimation, the floor could noticeably expand or contract after installation. Ideal conditions are 68 degrees Fahrenheit and 50-60% humidity.

STEP 1

Make sure to shuffle the planks prior to installation to achive the look you desire. Shorten the grove check on the boards required for the first row by the part protruding over the area to be covered. “Click” these boards in sideways using tapping block and align the first row of boards exactly with distance wedges. The interval to the wall and to all fixed components must be at least 3/8” (10mm) (with large rooms at least 1/16” per yard of room width). The wedges are to be removed once the entire floor is installed. The boards should be installed lengthwise to the light incidence. The only exception is with existing wood plank floors, install perpendicular to the direction of the existing floor.

STEP 2

Once the first row has been aligned precisely using a straight edge, begin installing the second row with the remaining piece of the last board of the first row. The front joints (cross joints) of the boards from row to row must however be offset by at least 1 foot. We recommend that the joints be centered on the plank of the previous row. Set the first board slightly diagonal as illustrated and “Click” this in by pressing against and lightly rocking. Proceed in the same manner with the second board and drive the front joints of this board into the first row (and so on) by using the tapping block.

STEP 3

Where there are heating pipes coming out of the floor cut around pipes allowing for expansion. Then cover with radiator rosettes.

STEP 4

As shown in the diagram (below), shorten door frames and doors to the height of the floor.

STEP 5

Fitting the last row: measure distance left (taking into account the wedge space) between the wall and the last row installed. Mark and cut the strip to be installed lengthwise. “Click” and fit as before.

STEP 6

The last row is driven in using the cramping tool.

STEP 7

Use wallbase boards, transition strips for completing your floor. Felt for table and chair leg bottoms are important details to protect your new floor. Your specialist dealer will help you with any advice you need and has a wide range of products available.